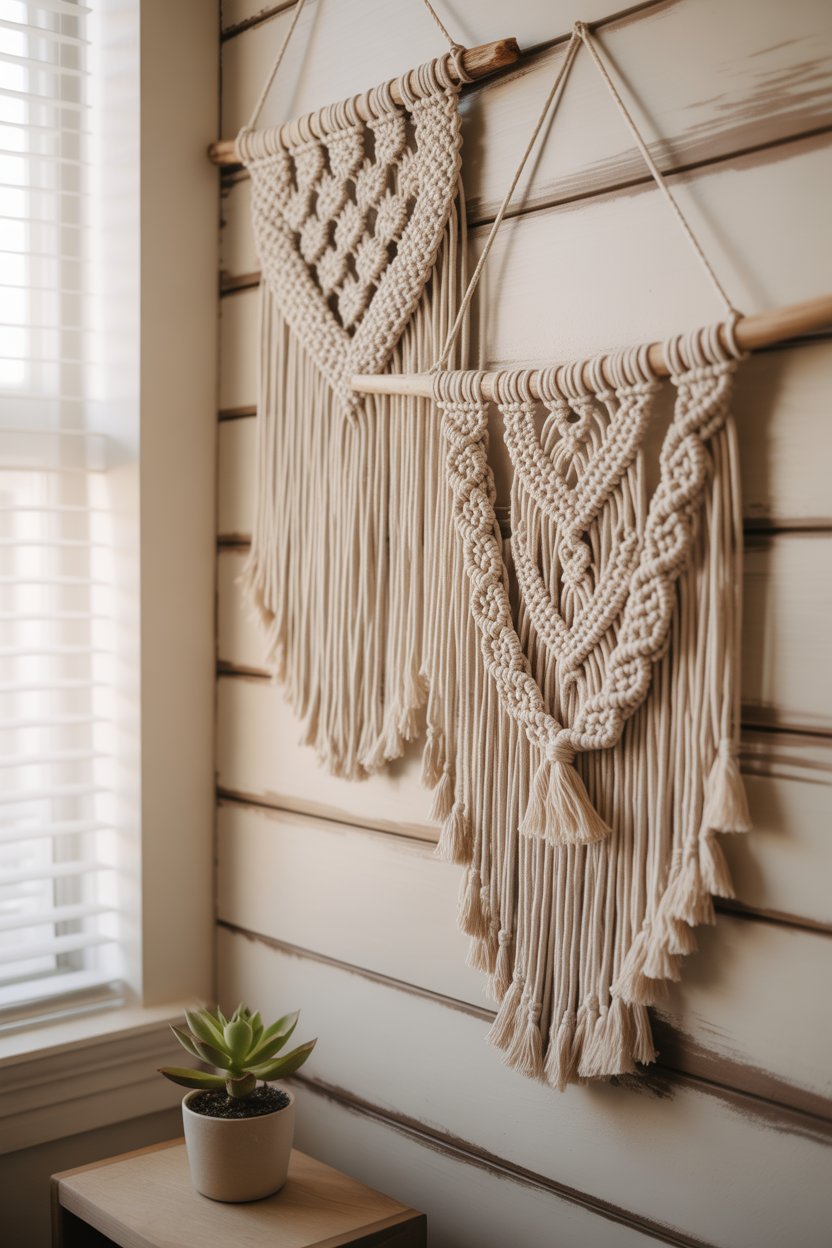
🌿 Introduction: Macramé Wall Hangings for Home Decor
Discover how to make beautiful handmade macramé wall hangings with this easy DIY macramé tutorial and step-by-step guide for beginners. Learn how to create boho-inspired wall decor using basic and advanced macramé knots, ideal for adding charm and creativity to your home interior design. Whether you’re a beginner or an experienced macramé artist, this detailed tutorial covers everything from macramé supplies and knotting techniques to pattern ideas. Make your own DIY macramé wall hanging today and elevate your space with handmade boho home decor and creative wall art!
🎨 Why Choose Handmade Macramé for Decor?
- 🌟 100% customizable (choose your size, color, and pattern)
- 🪴 Eco-friendly and natural materials
- 🏡 Perfect for living rooms, bedrooms, hallways, or nurseries
- 💝 Great as handmade gifts for friends or family
- 🎨 Relaxing, creative hobby for stress relief
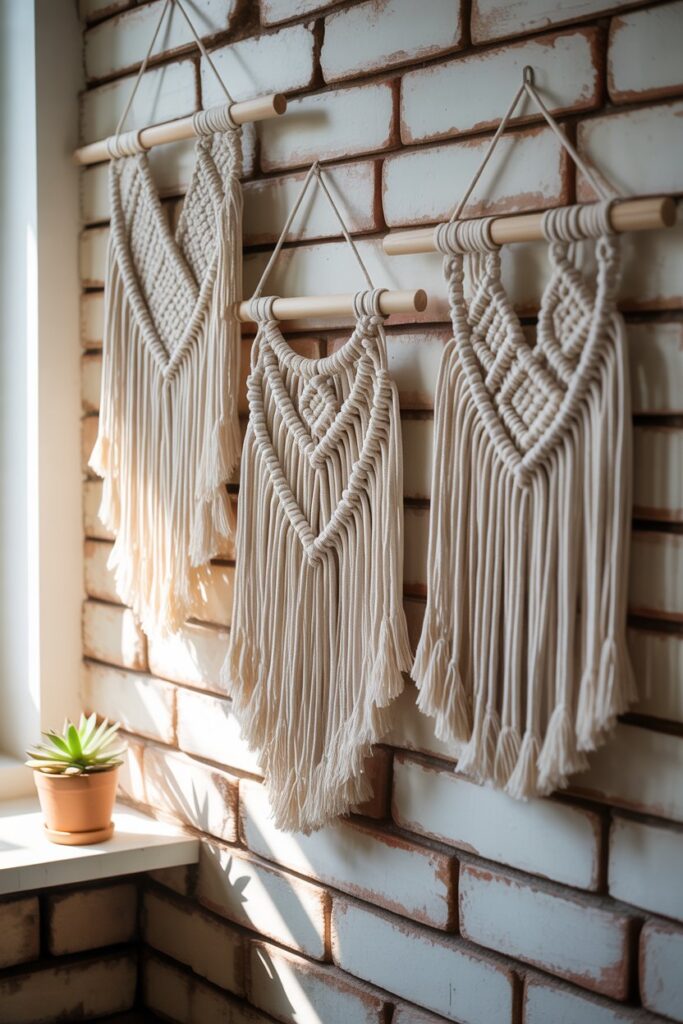
🛍️ Macramé Wall Hanging Design Ideas
Here are some popular handmade macramé decor options you can try:
| Design Style | Description |
|---|---|
| Boho Fringe | Long tassels with flowing ends — very trendy! |
| Geometric Pattern | Modern, symmetric designs using square and diagonal knots |
| Macramé with Beads | Adds wooden or colorful beads for an extra touch |
| Macramé Wall Shelf | Combines wood planks with knots for storage + decor |
| Plant Hanger Wall Piece | Combine wall art and functionality for holding plants |
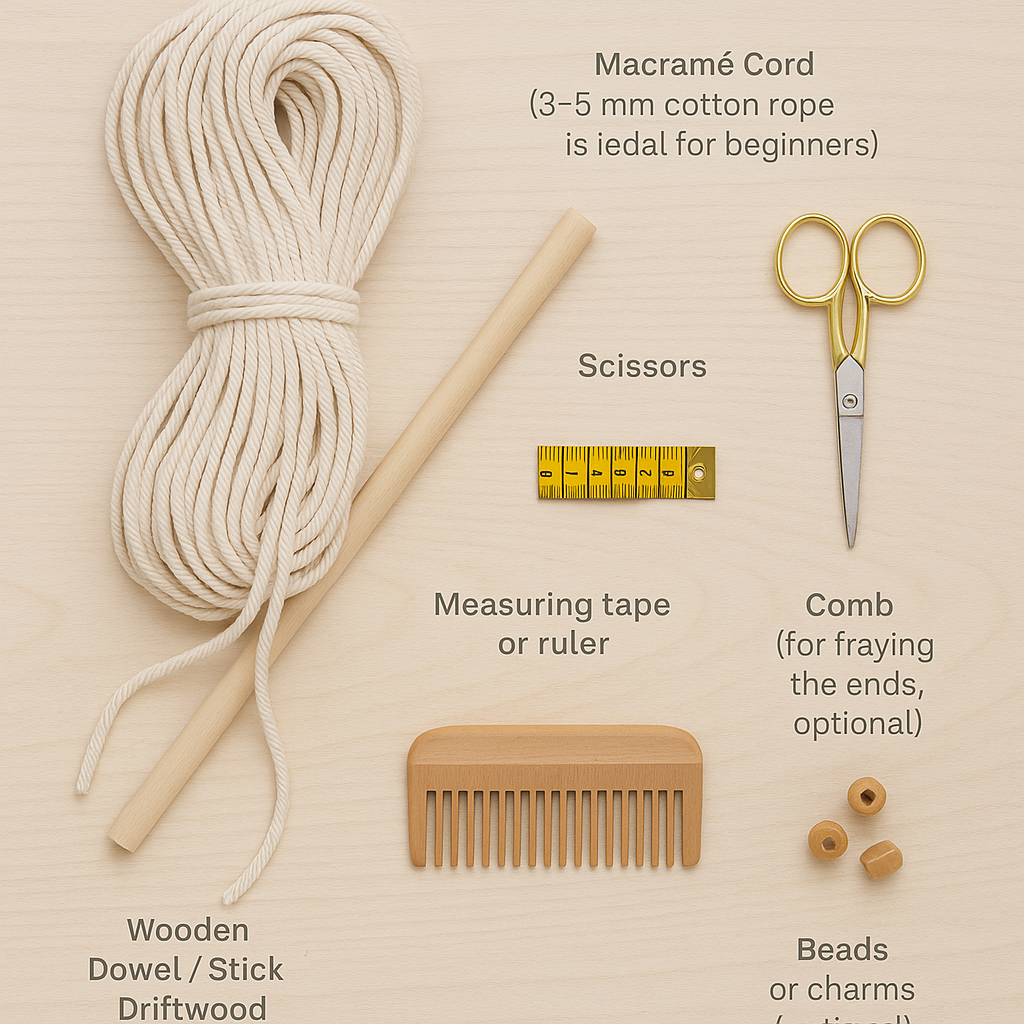
🧶 What You Need to Make Macramé Wall Hangings
Before we start the step-by-step tutorial, here are the basic tools and supplies:
- Macramé Cord (3-5 mm cotton rope is ideal for beginners)
- Wooden Dowel / Stick / Driftwood (for hanging)
- Scissors
- Measuring tape or ruler
- Comb (for fraying the ends, optional)
- Beads or charms (optional)
🪢 Step-by-Step Guide: How to Make a Simple Macramé Wall Hanging
✅ Step 1: Cut the Cord
- Measure and cut 8 to 12 pieces of cord, each around 4 to 6 feet long.
- Fold each piece in half.
✅ Step 2: Attach to the Dowel
- Use the Lark’s Head Knot to attach each folded rope to the dowel:
- Fold the cord in half.
- Place the loop behind the dowel.
- Pull the ends through the loop and tighten.
✅ Step 3: Start Knotting
Try these basic knots to form your design:
| Knot Name | Use |
|---|---|
| Square Knot | Basic flat pattern, great for beginners |
| Spiral Knot | Creates a twist or spiral pattern |
| Diagonal Clove Hitch | Used for chevron or V shapes |
| Overhand Knot | For finishing or adding beads |
Start with a row of square knots, then get creative with combinations and spacing.
✅ Step 4: Trim & Style the Bottom
- Trim the hanging cords into a V shape, diagonal, or straight edge.
- Comb the ends for a soft, fringed look.
✅ Step 5: Hang It Up!
- Hang your finished macramé piece on a wall hook or nail.
- Step back and admire your handmade art!
📥 Free Download:
Grab our Printable Knot Guide + Macramé Design Planner to sketch your layout and learn the top 5 beginner knots.
Visit our website for more: https://kikimooclub.com/home-decor/
Purchases
Visit Temu for amazing pourchases : https://www.temu.com/bmw.html?tmpl=ph22&subj=ph22-search-recommend&seo_search=1&search_key=macrame
Visit Amazon for amazing purchases: https://www.amazon.com/Macrame-Decor/s?k=Macrame+Decor
🎯 Final Thoughts
Macramé is more than just a trend — it’s a timeless art that adds texture, warmth, and handmade charm to any space. With just a few materials and some simple knots, you can create a beautiful wall hanging to decorate your home or gift to a loved one.
Happy knotting! 🧵💖